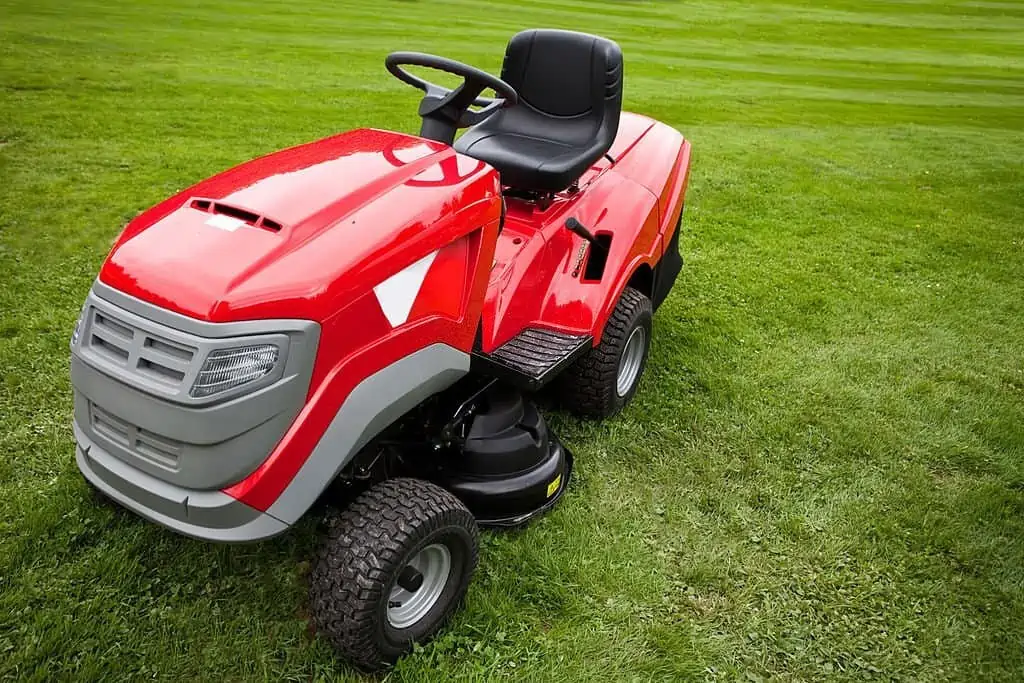
Riding mowers makes mowing work easier and faster. One of the most significant issues that can happen to the machine is refusing to start. Many users assume starting issues are major ones, and they won’t make any self-fixing attempts.
Your lawnmower consists of many starting components. When you start your mower, many things happen with these different components. One of those actions is that trademark clicking sound, which comes from a part called the solenoid.
If your machine doesn’t make that clicking sound, it isn’t necessarily the solenoid that’s problematic, and other faults might cause it. In this article, you’ll learn why your John Deere mower may not start. You’ll also get practical do-it-yourself fixes you can use to solve the issue.
Knowing how a riding mower starts will make you better understand the “lawn tractor won’t start, no clicking” issue.
Four-cycle engine power most riding mowers. Some of them run using gasoline fuel while others use diesel. Those that use gasoline usually require a spark plug for combustion, while the ones that use diesel don’t. The engine provides the necessary energy for transmission and drives in most lawnmowers and powers components like the wheels and blades.
Of course, the battery provides the needed electrical charge to run some of the most crucial starter components in the mower, including the motor, solenoid, etc. The ignition button is only a trigger to ensure that the starter system performs the duty required of it.
Specifically, the ignition triggers the battery to send direct current to the starter motor through the solenoid, which sends the current to the engine to enable it to start.
When you start your lawnmower, you only hear the clicking sound to show you that everything is functioning perfectly and the machine will start. If the riding mower does nothing, something is wrong. However, the lawnmower can still make the starting sound and not start up, depending on the nature of the problem.
Why your Riding Mower won’t Start?
If you’re experiencing start-up failure with your machine, it could be due to several causes. One of the most prevalent is a flat battery.
Sensor issues, a faulty solenoid, brake pedal not pressed, faulty ignition switch, or loose internal connections are also possible reasons your riding lawnmower may have the problem.
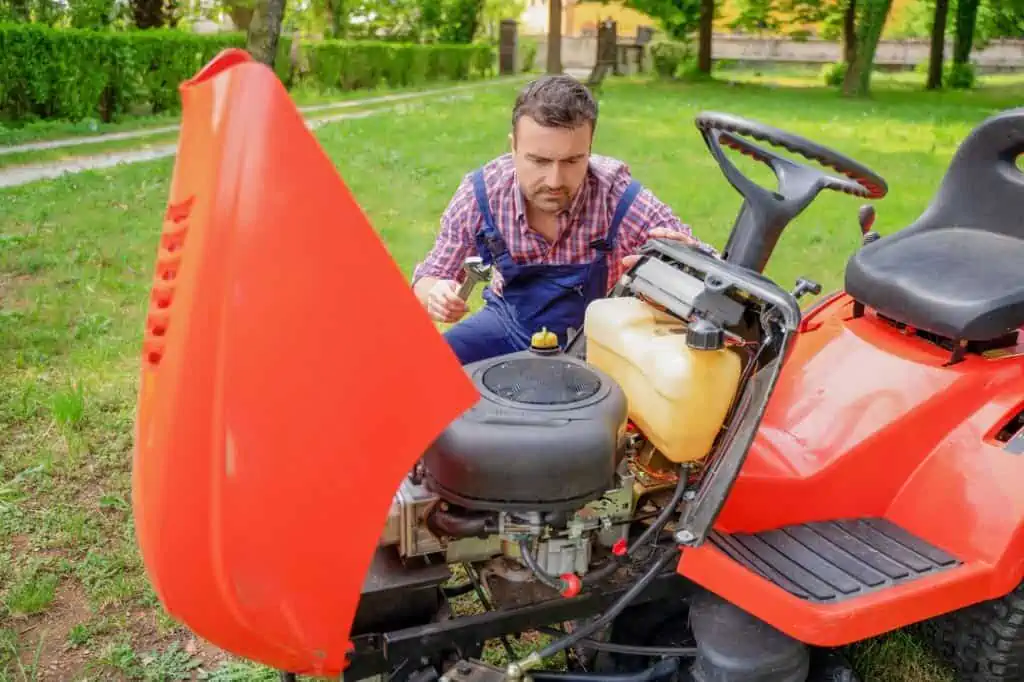
The first thing to do is diagnose the problem and work towards fixing it. You can only pinpoint the issue with your machine by dismantling it and checking the components individually. When you discover the culprit, you can proceed to repair it.
John Deere Mower won’t start no clicks: EZ fix
There are many ways to tackle the “john deere won’t start, no clicks issue on your mower.” From checking the battery to the control module to the starter solenoid and safety functions, you can be sure of getting a solution when you run these fixes.
1. Inspect the Battery
The battery is a crucial entity in your mower. It’s responsible for providing the power needed for all the electrical components of the machine, including the starter. Therefore, it won’t be surprising if the lawnmower doesn’t start up because of a battery fault.
Battery issues if one of the easiest to fix. Check around for any breaks or leakages around it. You can cover minor leakages if it has one, but you must replace the battery immediately if it has big openings.
If the battery looks like it’s in a usable condition, you might want to check the voltage using a multimeter. Checking the voltage will help you know if you need to recharge or replace it. The voltage for a working battery should be 12V.
Charge the battery if it’s below the required voltage. If it refuses to charge, you should consider getting a new one.
2. Inspect the Control Module
Most manufacturers insert control modules on lawnmowers to help regulate starting commands. The module receives a start/stop signal from the ignition switch and transfers it to the starter through the solenoid.
Only after these commands are executed perfectly will the machine start. Therefore, the lawnmower may refuse to start if the control module is problematic.
You can check if the control module is the faulty part of your mower either by running a wiggle or main-fuse test. In the wiggle test, you’ll wiggle the two wires connected to the control module to check if they’re damaged or loose. The main-fuse test will require you to remove the main fuse and check its condition.
You can also check the continuity of the module using a multimeter. Once you know its usability state, you can decide on the next step. If you discover any major fault with the control module, you should take the machine to a qualified technician.
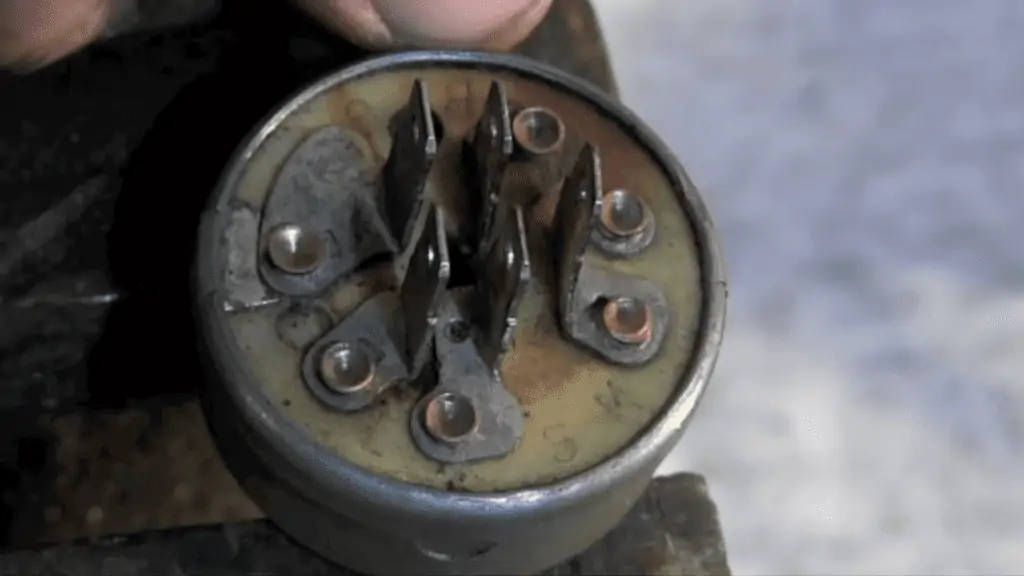
3. Check the Ignition Switch
If the ignition switch is faulty, it won’t be able to send the required signal to the needed components to start the engine. Therefore, you might want to check around for loose connections or breaks in and around the switch.
You can also check the resistance of your ignition switch using a multimeter. The ignition switch’s contacts need to complete a circuit from the B to the S terminal to be able to start. Measuring the resistance will enable you to determine if the switch is doing it correctly.
A switch in good condition will measure a resistance of 0 ohms, while a bad one will measure infinite. Run doable fixes on the ignition if you discover a fault, and if it still refuses to work, then you should consider ditching it and getting a replacement.
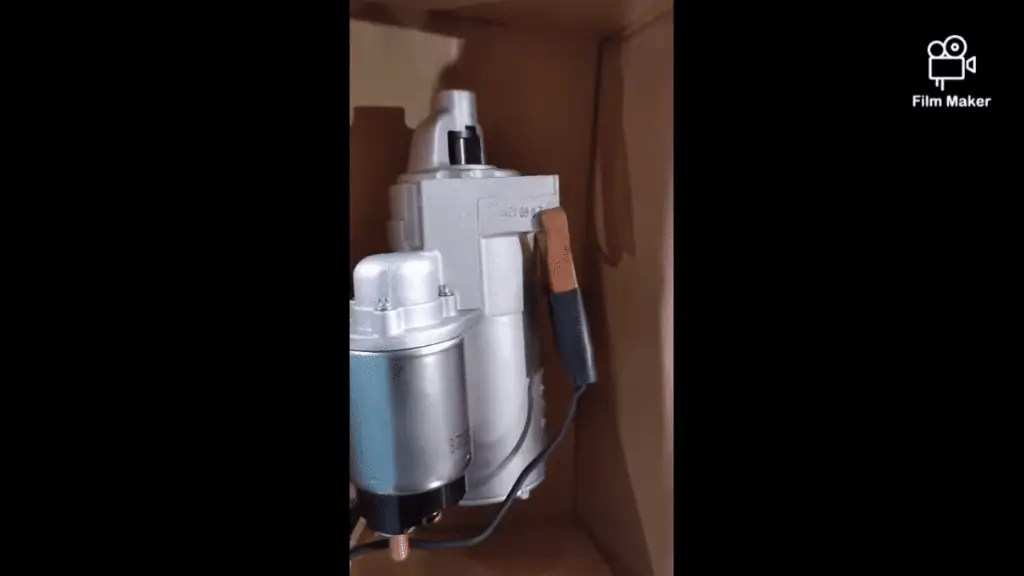
4. Check the Solenoid
The starter solenoid works with other essential components of your lawnmower’s starter system to ensure the machine functions optimally. Its job is to send the needed current to the starter motor to enable it to start. As mentioned earlier in the article, it makes that clicking sound you hear when you start your machine.
Although you can fix your solenoid or bypass it if you want, you should replace the component if it’s faulty. While you can change the solenoid yourself, you can also give it to a qualified technician to do it for you. The following section will educate you on how to go about it if you decide to change the solenoid yourself.
How to Change the Solenoid on your Lawnmower
Open your mower’s hood or seat, locate the battery, and disconnect the battery terminals.
You’ll take off the battery from its position and use the opportunity to check for possible defects around it. You can even check the battery voltage if it’s been a while since you last checked.
Remove the wires connecting the solenoid’s terminals to the machine.
Using a screwdriver, remove the mounting and tab.
Carefully remove the bad solenoid from its position and replace it with your new and compatible one.
Reconnect the necessary cables and terminals, close your lawnmower’s hood, and you should be ready.
Ensuring that you reconnect the cables correctly is essential to avoid worse problems. You should wear protective equipment while working on the repairs. If you’re unsure of your ability or unfamiliar with your mower’s internal components, it’s advisable to take the machine to a qualified technician.
5. Check the Safety Functions
Manufacturers build safety features controlled by switches into lawnmowers. If some safety features are active, your lawnmower may not work as it should. You can effortlessly check and fix this safety function if you know where to look.
The most crucial safety features you should check in your machine include the battery connection, blade switch, brake pedal switch, etc.
You should press your brake pedal before jump-starting the engine; if it doesn’t work, consider checking the brake detector. A break detector reading of 0 ohms implies that everything is fine, while an infinite read means it’s faulty.
6. Ensure that You’re doing it Right
Most lawnmowers have starting routines. Sometimes, the machine might refuse to start if you don’t observe these routines properly. Therefore, you must follow the required starting procedures to guarantee optimal performance.
One of the first things to do is check all the necessary fluids and connections to ensure its well-fitted. Also, sit firmly on the seat and engage the brakes and levers. These gears and levers include the brakes, parking brakes, gear, and throttle.
Ensure you put the gear to neutral (“N”) before starting the engine. Also, it would be best to put the throttle in the choke position. The throttle is the part that helps regulate the speed of your mower blades; it also plays a crucial role in ensuring the engine starts well. Most lawnmowers’ throttle will have the drawing of a turtle and a rabbit, so it should be pretty easy to spot.
Once you’ve done all that, start the machine and run the required after-start processes like returning the throttle to “fast.” It’s essential to note that your mower may have a different starting procedure or ritual besides those here. You should read and understand the owner’s manual to give you invaluable insights on starting the machine.
Conclusion
Starting issues on your john deere mower appear complex only if you don’t know how the system works. If you know all the starting components and their function, you’ll know the quick fixes to run if you experience starting issues.
Adequate maintenance is key to preventing starting issues on your lawn tractor. When you observe the manufacturer’s recommended maintenance advice, it’ll be rare for your mower to encounter problems. Also, only replace your mower’s parts with compatible ones.
Wear protective gear and observe precautionary measures when fixing starting issues on your mower. Avoid bringing kids and pets to the workplace; only work with good equipment. If you’re finding it difficult to run a particular fix, re-check the instructions and try again, or better still, approach a technician for help.
Alex is a skilled gardener and lawn care expert with over 5 years of experience in the field. He developed a passion for horticulture at a young age and has since dedicated his life to mastering the art of landscaping. When he's not tending to gardens and lawns, Alex enjoys hiking, camping, and spending time with his family.