When you come across combustion engines like those found in cars and some machines, you will find that they work by transferring power to the vehicle’s axle. The power then turns the wheels. Hydrostatic transmissions found in most modern tractors and zero-turn mowers work similarly.
Hydrostatic transmissions also transfer power from the engine to hydraulic pumps, which use liquid pressure to move the wheels. As a result, there’s hardly any need for gears, and changing speed is smooth and efficient.
However, hydrostatic transmissions have their common problems. Thankfully, you can avoid many of them, especially if you read your operator’s manual because it has all the necessary information.
Zero turn Hydrostatic Transmission Problems
With machines and different components, issues can pop up anytime. In this article, you will find the problems affecting zero turn mower hydrostatic transmissions and how to address them.
1. Your Drive Belt Keeps Slipping
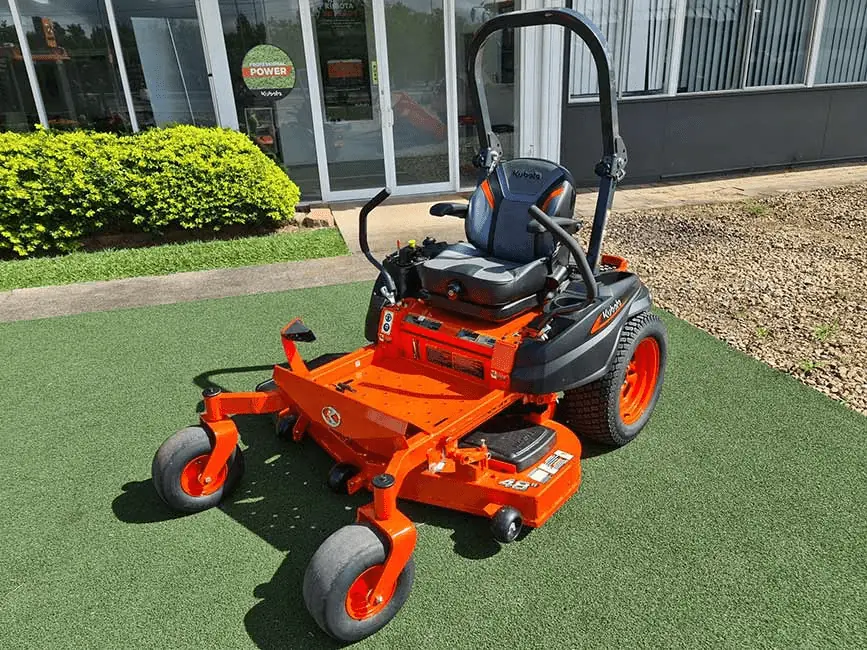
A slipping drive belt is one of the main reasons why your zero-turn hydrostatic mower won’t move. The hydrostatic pump always depends on the power transfer from the belt. You can check the belt’s tension to ensure it’s in perfect shape. If it’s not good, you have to find the best replacement.
If you find a bad or broken belt, that means getting under the mower to fix it. But before you do that, remove the battery and apply the brake. Also, restrict the tires to prevent the mower from moving.
Installing a new belt on the drive involves removing the deck belt first since it sits above the deck pulley. Use a spring puller to release the tension spring from the deck belt. Then, remove the deck belt from the main engine pulley next to the clutch.
The clutch stop bracket is the next port of call. Use a socket wrench to take out the bolts. After both items are out, you will get clear access to the drive belt, then use your spring puller to remove the tension spring from the drive tension arm.
Install the clutch stop bracket on the lawn mower while ensuring it correctly secures the clutch. The last part is aligning the deck belt and reinstalling your deck idler spring. That’s it. You have successfully installed a new drive belt.
2. Disengaged Hydrostatic Motors
Always check when a hydrostatic mower will not move with the transmission engaged. At the rear, you will find the release pin that allows you to disengage the transmission. It is a valuable feature to move the lawn mower without it running.
For example, if you have run out of gas or experienced a breakdown, you can still move the mower. However, it becomes a problem when disengaged, especially if you know nothing about it.
For some people, disengaged hydrostatic motors aren’t much of a problem. If you don’t believe that, you can make one change. Start at the lawn mower’s rear, where you will find a long pin or metal rod from the hydro transmission. Some models label this part or have a hoop that users can pull.
Pushing or pulling the lever will take your mower into drive mode. Otherwise, the drive is disengaged if you can move the mower with the brake off. If you must use this feature, ensure your mower is off, and the brake is on. You wouldn’t want your mower rolling away by itself.
3. Lack of Oil for Adequate Pressure
This can be a problem because the transmission gets powered by oil from the pump to the motors. Moreover, the system needs enough air to create pressure. That means when oil is low or insufficient, air replaces the oil, leading to a lack of energy for the motors.
If there’s an oil reservoir, you can check oil levels through it. But some manufacturers run a closed system without reservoirs. For this reason, you can only check the oil levels if there’s a certified professional to do that for you.
To fix this common issue:
- Observe the oil level inside the hydrostatic oil reservoir, usually under the driver’s seat.
- Look around to see if there’s a fill-level window on the side of the oil reservoir. It can also be an indicator with the filler cap.
- Use the appropriate hydraulic oil to top it off, not just regular oil.
When you top the oil, run the engine for some minutes and use the drive backward and forward to work the oil into the system. In addition, the refilled oil level strengthens the drive until it returns to its original power.
When you continue experiencing problems here, you should purge the air from the system.

4. Problematic Internal Mechanism in the Pump or Motor
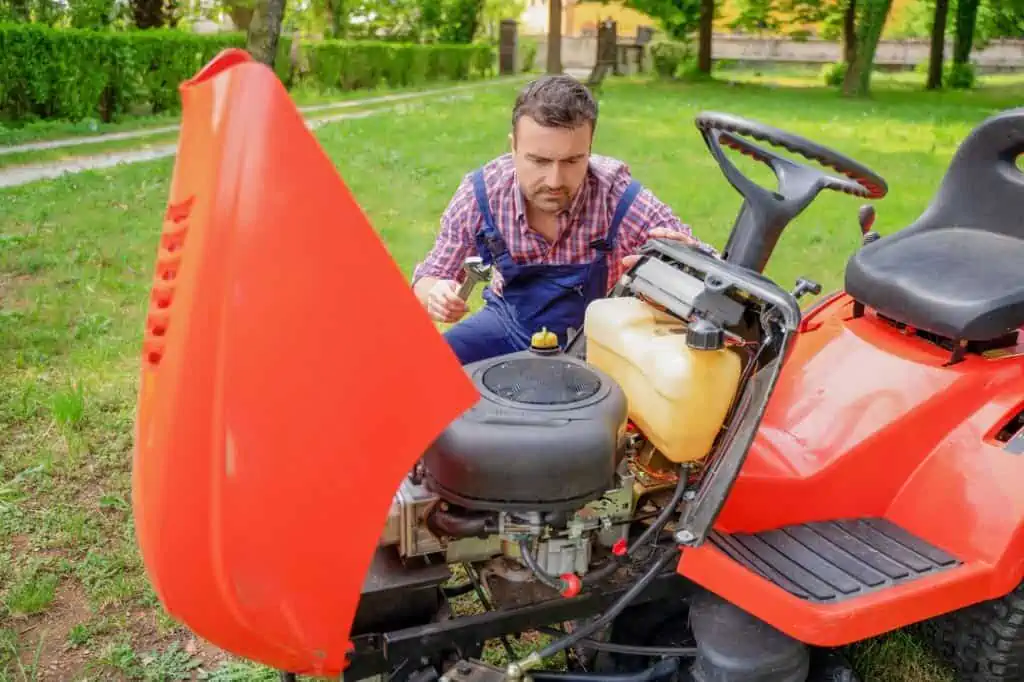
Sometimes, it is difficult to identify what’s wrong with your mower from the outside. Check inside, and you may find there’s an internal problem with the transmission. You will require the hydro system to be removed and opened to fix this. That will help you identify what’s happening inside the machine and draw conclusions.
You will find that the interiors of the pump and motor are made up of several internal parts. Since you must remove the complete hydro system, this differs from your standard troubleshooting and repair exercise. It’s advanced mechanics at this point.
Further, it’s essential to be careful with how you go about the repairs, especially not to void your manufacturer and store warranties. Even after opening up the machine and finding no issues, it’s best to consult your lawn mower supplier or a technician for professional assistance.
5. Broken Hydraulic Hoses and Seals
Hydrostatic transmissions often work under severe pressure, which can cause hoses and seals to break. When this happens, the oil gets replaced first by the reservoir and then just air once the reservoir is empty. Always look for broken hoses and seals by inspecting them for spilled oil.
If you identify any spot leaking with oil from a connection hose to the hydrostat, the cause is likely due to a loose seal or hose. But before you remove the hose, try to tighten it first because as little as a ¼ turn can create a leak that will drain the system enough to cause a problem in the long run. If so, run through the purge process and monitor the leak to stop it.
However, the seal might be gone entirely, or there’s a split hose. You will have to replace the seal or the entire hose.
If you must replace the hose, use a wrench to loosen off the nut holding the hose to the hydro and take the hose off. Inspect the end of the hose to see if the seal is damaged. If your concern proves true, you can replace the o-ring seal and reinstall the hose. Also, if the hose is split, use the process for both ends.
Using a thread lock before installing the hose is a good idea. That way, it prevents the nut from becoming loose in the future. Round up the process by running through the purging process to remove air and fill the oil level if needed. If too much air has invaded the hose, you must complete the process multiple times.
Final Thoughts
Hydrostatic transmissions are complex systems, and any issue can be challenging to diagnose and fix. If you suspect your zero turn mower hydrostatic transmission has problems, you can apply some of the above fixes.
But for advanced situations, it is best to take it to a qualified technician to ensure the problem is troubleshooted correctly and repaired.
Now that you know the Zero Turn Hydrostatic Transmission problems, following the above tips and suggestions can help keep it in top shape and avoid potential problems. Maintenance is critical if you must prevent issues like the ones covered here.
